
Drawing tutorial: the little girl with ice cream
In summer, what I like above all is to go and sit in a park at the end of the day, take out my little sketchbook which slips easily into my bag and draw sketches inspired by the season: beautiful flowers🌻, juicy fruits🍊, characters inspired by children at the park, a picnic in the yard, sipping a fresh fruit juice🍹.
It's my little moment of relaxation to me 😊.
Today, my magazine Evasion Dessin offers you a quick tutorial that will allow you...
… to have clear and guided steps to achieve a small face
… to relax and have fun for 15-20 minutes
… and to realize that it is quite possible to organize a creative summer for you
So, does that motivate you to keep drawing this summer? 😍
I'll let you watch the video tutorial, or even consult it in writing if you want to print this page to do like me and go draw in the park!
Click on each of the photos to see them in high quality!
Here we go ✏️!
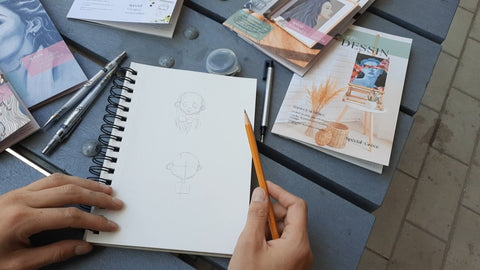
1. Start by drawing a circle that will serve as the base for the little girl's head.

2. Then draw the little ears of the character. Draw two axes that will determine the center of the face and the position of the eyes.

3. Draw a square below the face to represent the upper body of the little girl.
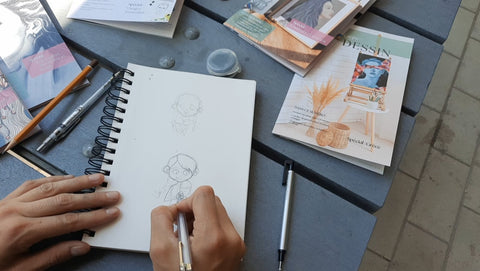
4. Then add her hair without necessarily going for precision. Here we just want to show the main shape of her hairstyle. You can also add small braids that rise slightly upwards.

5. Then draw the ice cream 🍦. The scoop of ice cream will be slightly off-center to the right, as will the cone just below.

6. Then add the little girl's fingers, drawing three very flattened circles, and also her elbow.

7. The other hand will be slightly lower. We then add a thickness to his arm, and a small skirt or dress to complete the rest of his body 👗.

8. Then add the legs of the little girl, as well as her feet represented by two semi-circles.

9. We then have to position the eyes which will be quite round here. We will then add his mouth and his little nose. To give it an even cuter side, you can also add small eyebrows that go down slightly 😊.

10. We are now going to go over our lines to bring out the different elements of our little character.
11. Now it's time to remove our first contour lines to give the final touch to our drawing! We can also add lines to the cone as well as to the hair and braids to give more definition to our drawing!

And There you go ! That's it ! As you can see, a simple pencil ✏️ and a drawing book will be enough to get you started. Of course, you will also need a little inspiration that you can find through my articles, or in my Evasion Dessin magazine ! 😇

13 comments
Merciii beaucoup Florence! J’apprécie ces petits exercices vite faits tout en appliquant certains trucs et techniques à insérer dans notre bagage de connaissances!
Merci Florence c était un moment agréable en fin de journée
Merci j’en ai déjà fait 2 et c’est le fun
Merci Florence, très gentil à toi de nous offrir gratuitement, ces tutoriels pour l’été. J’aime bien en vidéo. Je t’entends et je vois. Comme ça je peux arrêter la vidéo où j’ai de la difficulté. Ces petits personnages me font pratiquer les proportions et l’observation quand il y a quelque chose qui cloche… J’ai bien aimé cette petite fille au cornet! Elle m’a donné de la misère mais c’est là que je comprends qu’est-ce qui se passe. J’arrête la vidéo, je regarde et je repars…Tu es très bonne autant dans le dessin que l’enseignement.. En plus d’être très humble! Bonne journée et à bientôt!
Merci beaucoup Florence, toujours apprécié tes tutoriels et ceux du mois. J’ai quand même beaucoup de misère à faire les deux côtés pareil. Mais j’adore te regarder. 🌹